-------------------------------------

How Professional Designers Build a Collection Without Drawing Hundreds of Sketches

Jul 9 / Milan Fashion Campus

Key Takeaways

  • Strong collections come from a clear concept, a tight product architecture (how pieces relate across the range), and fast visual decision-making

  • Instead of drawing 200 full sketches, designers often work from modular silhouettes, strong references, and quick iterations on a few key views (front, back, and detail)

  • A focused edit and a simple line plan (a one-page map of categories, counts, and color/material stories) help turn ideas into a cohesive collection you can actually build

Stop over-sketching and start building a collection

You have 3 weeks to present 12 looks, but if you keep sketching full figures you can lose days and still be stuck polishing look 1. The goal is not more drawings, it’s more decisions about what the line is and what it includes.

Many teams don’t iterate 200+ full figure sketches. They iterate a smaller set of core flats (simple front and back technical outlines) and variations, often in the 10–30 range, then combine those pieces into complete looks.

Next, shift your workflow from “finish one sketch” to “build a collection map.” If you do one thing first, make a quick list of the 12 looks you need and what each look must communicate (for example: 3 day looks, 3 evening looks, 2 outerwear-led looks, 4 easy commercial looks).

Here’s the catch: low-sketch does not mean low-idea. It means you separate idea generation from final rendering so you can test combinations fast.

Use this low-sketch workflow to go from concept to a first line plan in about 60–90 minutes:

  1. Pick 10–12 core product types you can mix (for example: blazer, cropped jacket, slip dress, wide-leg trouser, straight skirt, knit top, woven shirt)

  2. Draw 10–30 very small flats or blocks, not full figures (aim for 2–5 minutes each)

  3. Create variations with one change at a time (swap sleeve, hem length, neckline, closure, pocket placement)

  4. Build 12 looks by combining pieces, then name each look by its job (for example: “Look 4: statement outerwear”)

  5. Check balance with quick counts (for example: 4 bottoms, 4 tops, 2 dresses, 2 outerwear) and adjust

Common mistake: sketching a look as a complete outfit before you know the garment set. Fix it by designing garments first, then assembling outfits like a mix-and-match menu.

If you’re short on time, skip detailed figures, fabric rendering, and final pose drawings. Do clean flats, a tight list of variations, and a simple line plan table so you can get feedback early and iterate on the right level.

Define a concept that makes decisions for you

Next, treat your concept like a filter, not a mood. If it cannot help you say “no” in under 10 seconds, it is not doing its job.

Write your concept in one sentence, then add three keywords and two design rules. Keep it plain and testable so you can apply it when you are tired, short on time, or staring at too many options.

Use this fill-in to get it done in 5 minutes:

  • One-sentence concept: “A collection for [person + context] that feels [emotion] and works through [visual idea]”

  • Three keywords: [keyword 1], [keyword 2], [keyword 3]

  • Two design rules (your yes/no tests):

    • Rule 1: If it does not have [specific feature], it is out

    • Rule 2: If it breaks [proportion or material constraint], it is out

Common mistake: writing keywords like “modern” or “beautiful” that do not guide a hem shape, seam placement, or fabric choice. Fix it by rewriting every keyword so it points to something you can measure or see, like “long vertical lines,” “sharp shoulder,” or “dry hand-feel.”

That said, your reference board should support decisions, not distract you. Start with silhouette, proportion, and fabrication (how it is made) before you collect any color, styling, or “pretty images.” This works best when you want a cohesive line; it fails when the board is mostly editorial photos that hide construction details.

Build your board with constraints you can check in minutes:

  • Silhouette: 2 to 3 repeatable shapes (for example: column, A-line, cropped box)

  • Proportion: 2 rules you repeat (for example: “waist at natural waist,” “hem hits mid-calf,” “sleeve volume kept to one statement piece per look”)

  • Fabrication: 3 to 5 construction or material anchors (for example: set-in sleeve only, bound seams, denim-weight cotton, no sheer fabrics)

If you do one thing, make your two design rules extremely strict. You can relax them later, but strict rules early prevent you from sketching 30 looks you cannot produce or cannot fit into the same collection.

Build a modular silhouette system from a few core blocks

Next, stop trying to invent a new outline for every look. Pick 3–5 base silhouettes that match your concept and customer, then create variety by changing a few controlled switches.

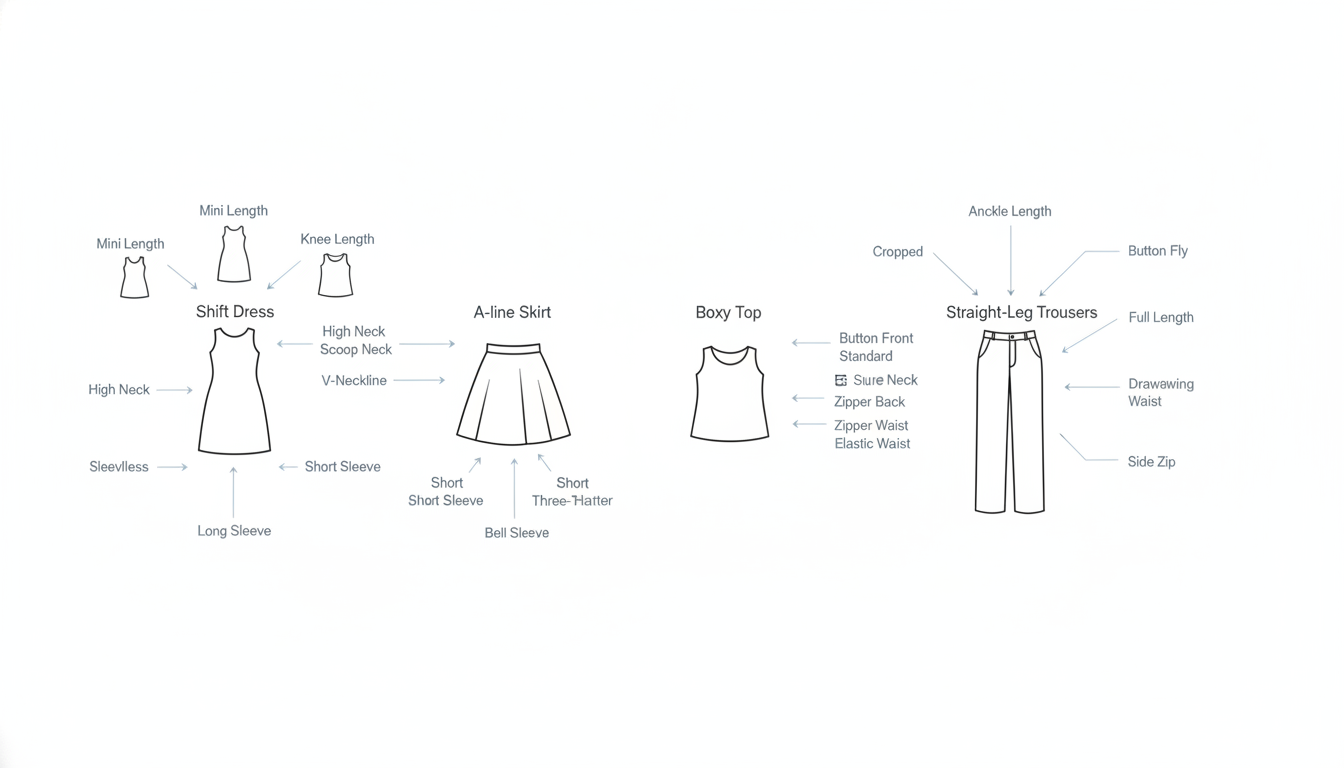
A practical starting set could be: a straight dress, a boxy shirt, a tapered trouser, and an A-line skirt. From there, you can vary length, volume, neckline, sleeve, and closure to get 12–25 clear options without drawing 12–25 new ideas from scratch.

Here's the catch: if everything varies at once, the line starts to look random. If you do one thing, keep one repeat element constant across a mini-group, then change only 1–2 variables per style.

Try this quick build process:

  • Choose your 3–5 base silhouettes and name them (Base A, B, C) so you can track them

  • For each base, plan 3 variations (for example: short, midi, long or fitted, straight, oversized)

  • Assign one hero per base (the most noticeable version) and two supporting styles (quieter repeats)

  • Limit each style to two changes from its base (for example: neckline + sleeve)

  • Reuse closures on purpose (for example: all side zips, or all button fronts) to keep patterns and trims consistent

Also, build a simple “family” logic so the collection feels related without extra sketches:

  • Repeats: the same silhouette appears again with a small update (for example: same dress shape, new neckline)

  • Updates: one clear change that signals progression (for example: add volume only at the sleeve)

  • Hero pieces: 1–2 statement versions that justify attention (for example: the longest length plus the boldest volume)

Works best when you are designing for a clear use case like officewear or weekend dressing. Fails when the base silhouettes come from different style worlds (for example: tailored suiting mixed with romantic prairie shapes) unless your concept already explains that mix.

Replace full sketches with faster decision tools

Next, swap detailed sketches for quick decision tools that answer the real questions: what is it made of, how is it built, and where does it sit in the range. A 5 to 10 minute quick flat (simple front and back outline) plus short callouts can resolve construction details like pocket type, seam placement, neckline finish, and hem shape without getting stuck rendering.

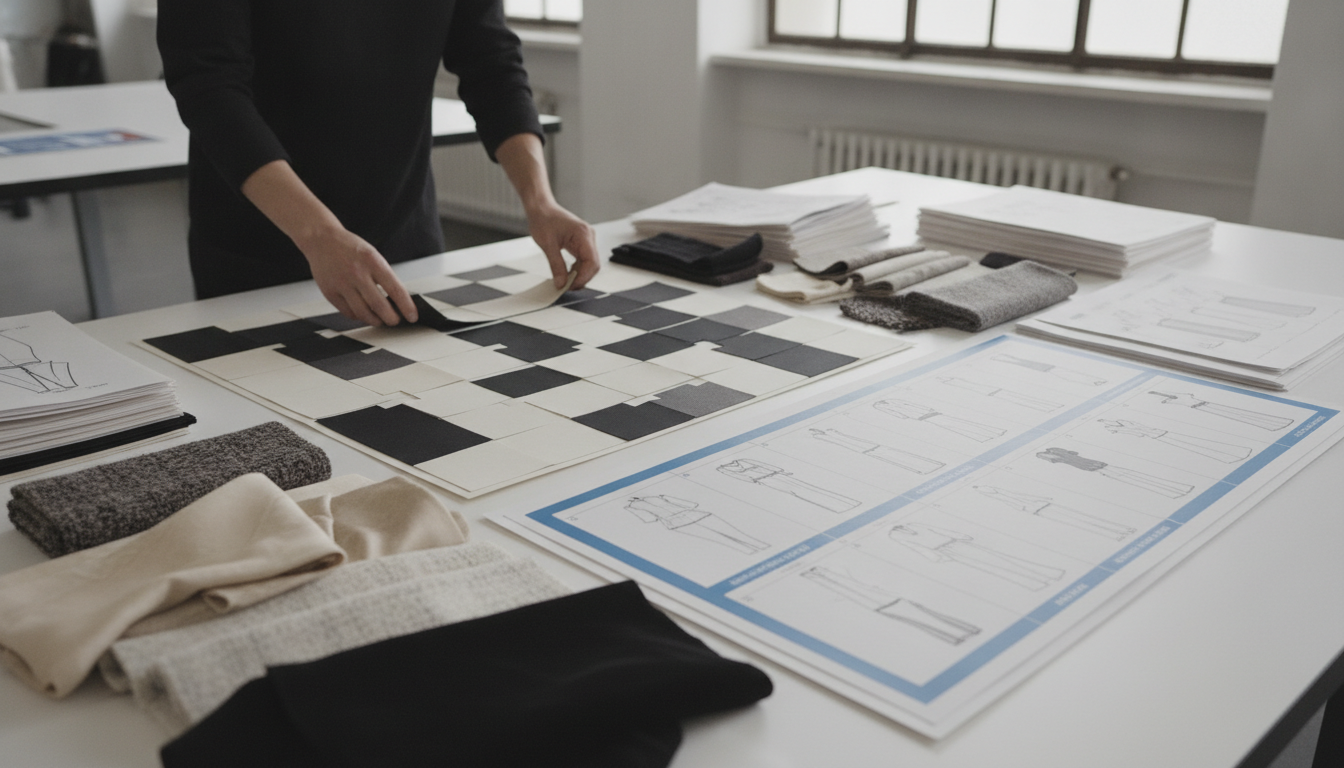
If you do one thing, do this: pair each quick flat with a tiny “decision strip” of swatches. Include 2 to 4 fabric swatches and one trim note (for example, 18 mm button, 25 mm elastic waist, or metal zipper) so you can compare options side by side. Works best when you’re deciding fit, trims, and finishes; it fails when you’re trying to sell a mood to someone who needs polished visuals, in which case make 1 hero sketch only and keep the rest as flats.

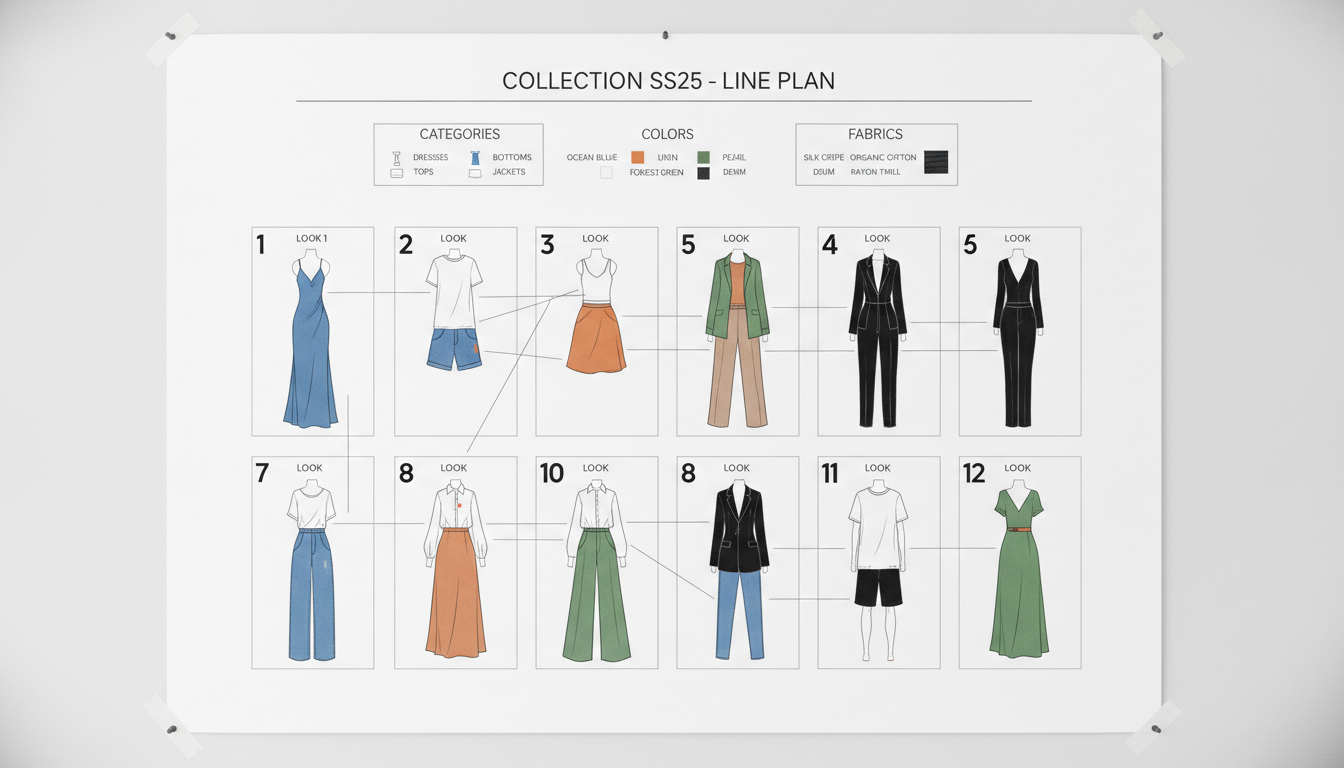
So you know the pieces actually combine, validate them with a mini line plan before you add anything new. Think of a mini line plan as a one page map that shows categories, color palette, fabric allocation, and outfit combinations so gaps show up fast.

Use this quick checklist:

  • Categories: list 3 to 6 (for example, tops, bottoms, outerwear, dresses)

  • Color palette: pick 4 to 6 colors and assign a main color to each look

  • Fabric allocation: cap it at 3 to 5 core fabrics, then note which categories can share them

  • Outfit combinations: draft 12 numbered looks and check each hero piece appears at least twice

  • Common mistake: adding a “special” fabric for one item; fix it by swapping in a core fabric or making that item the hero of 2 looks

Closing remarks

Next, remember this: edit is design. The pieces you remove, the options you stop entertaining, and the repeats you cut are what make a collection readable on a rack, online, or in a lookbook.

If you do one thing today, set a single rule that forces faster choices. For example:

  • Limit yourself to 2 base colors plus 1 accent

  • Pick 1 hero silhouette and allow only 2 variations

  • Decide on 1 fabric family for tops and 1 for bottoms

  • Set a hard cap like 12 looks, then cut until every look earns its place

Which one rule could you set right now that would cut your decisions in half and speed your next collection?